If you are a bit of a card maker you may have seen these easel cards doing the rounds of late.
They seem to be the latest fad thats for sure! well I had a shot at making one the other day when i had to make a card for my friends birthday. Here is my effort.....
>

I couldnt believe how easy they were to make...so I'm going to share my instructions with you!
Step one: Cut a piece of cardstock 6x6 inches. This is the front of your card and you can decorate it how you please.
Step two: Cut another piece of card that measures 6x12 inches. Score this piece at 3 inches and 6 inches.
Step three: Valley fold both of these scores.
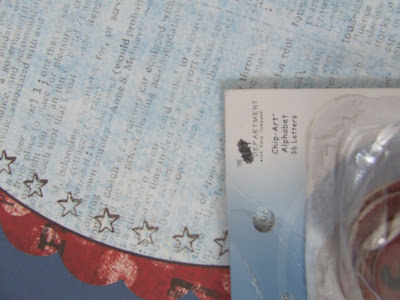
Step Four: Decorate the bigger section of this piece of cardstock. Making sure to place a brad, button or flowers around the centre of the card (see diagram)

Please note this diagram shows measurements for a four inch card but you can make it any size you want.
Step Five: With the longest peice of cardstock folded in half place , (the folded side on top, and the decorated side in the middle), put double-sided tape or glue onto the bottom 3 inch section.
Now with this piece still folded in half take the front of your card piece and place it on top glueing the two pieces together.
Step Six: To display your card place the front of your card behind the brad or button (or whatever) that is on the bottom section so it sits like an easel!

Simple hey but pretty effective.
i hope you enjoyed my little lesson and I hope you have a go at making one and sharing with us in the gallery and place a link in the comments section.
I have used BAsic Grey Papers, Bazzil cardstock, Spellbinder templates and Green tara flowers on my card. All available from the CPC shop.